


Los Más Vendidos


Reseñas
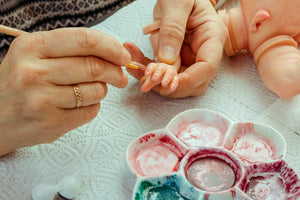
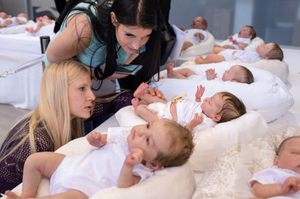
Ropa bebes reborn


